In this article you will learn how to Integrate your Parsey account with Addressable in order to send hand-written letters to customers.
Step 1: Configure an Email or Webhook Flow
If you are wanting to send a letter to a recipient whose information is contained within an email, use this article to learn how to start an email flow. If you are wanting to send a letter to a recipient whose information is contained within a webhook, use this article to learn how to start a webhook flow.
The bare minimum information you will need to pull from your email or webhook is below:
- First Name
- Last Name
- Street Address
- City
- State
- Postal Code
You may also wish to pull out more personal information to use in customizing your letter.
Step 2: Connect to and Configure Addressable
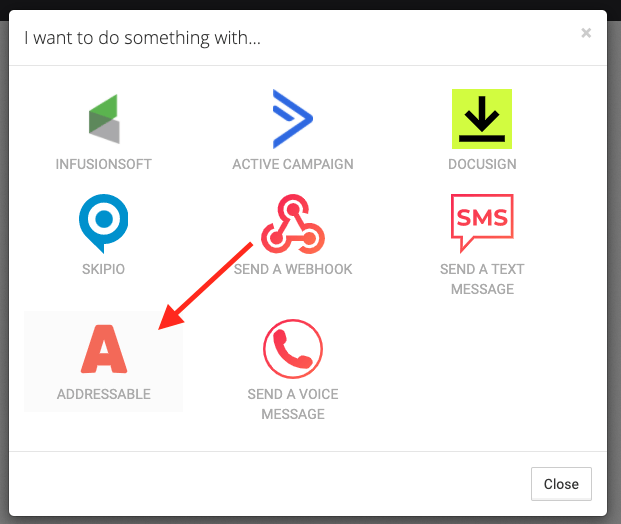
Once you have configured your email or webhook flow to extract contact information, you can now add Addressable as an Action to the flow. On the Actions page of the flow, click the Addressable icon.
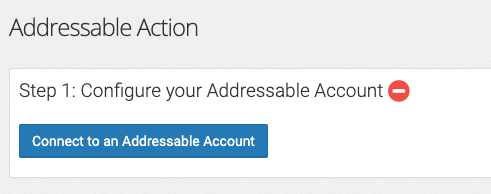
Click Connect to an Addressable Account.
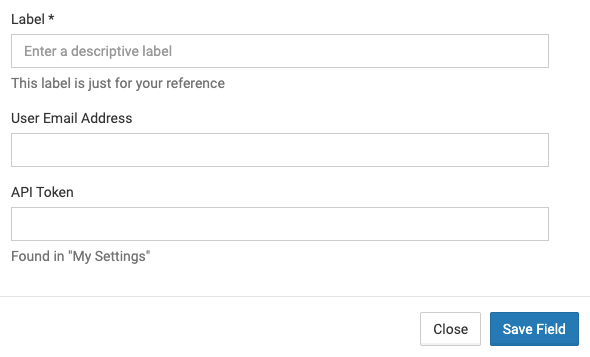
Enter a Label, your Addressable account information, and API Token. Click save once you are done. If you don't know how to find your API Token, use this article here.
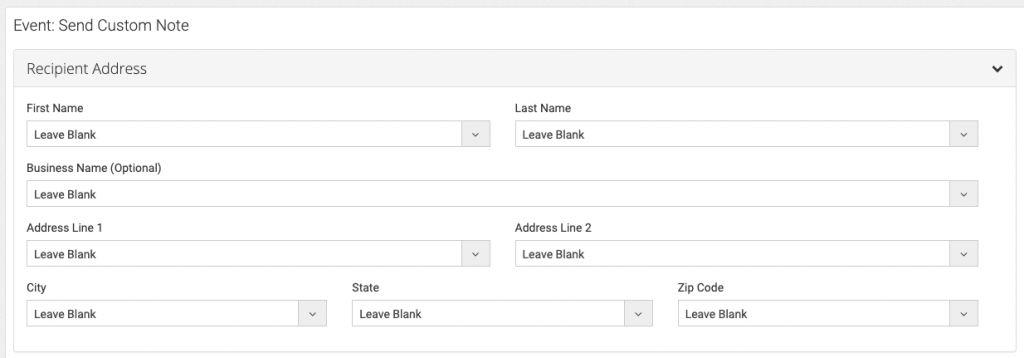
Recipient Address
Use the fields you extracted from your email or webhook to select the name and address information for the recipient.
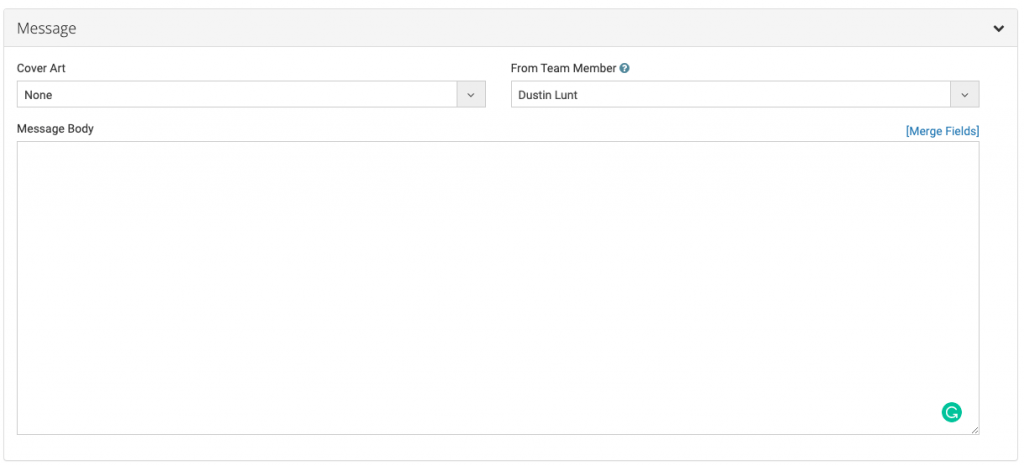
Message
Here you can select the Cover Art, the From Team Member, and compose your message.
Return Address
Enter the information for the return address.

Once you have finished with the steps above, click Save at the bottom.
Step 3: Activate your Addressable Action
Go back to the top of the page, and click Back to Actions.
Toggle yoru Addressable action from OFF to ON.
Relevant Articles
Don't already have a Parsey account? Sign up for FREE here to start sending personalized hand-written notes to your customers automatically.