This article will walk you through how to get a registration confirmation email from Zoom, have that email send to Parsey, and have Parsey pull out the contact and meeting information from it.
Step 1: Zoom
The first thing you will need to do is edit an existing meeting or create a new one.

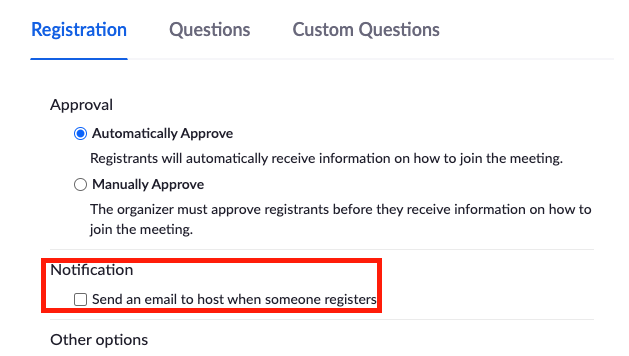
Under the Registration section, tick the box for Required.

Configure the rest of your meeting details and then click Save. Once you've saved it, scroll down to the bottom of the meeting details and click Edit under the registration section.

Under the notification section, tick the box to send an email to the host, then click Save.
Now you will want to register a test contact with the meeting. That will send an email to the host email address that we can use to set up the auto-forward to Parsey.
Step 2: Parsey
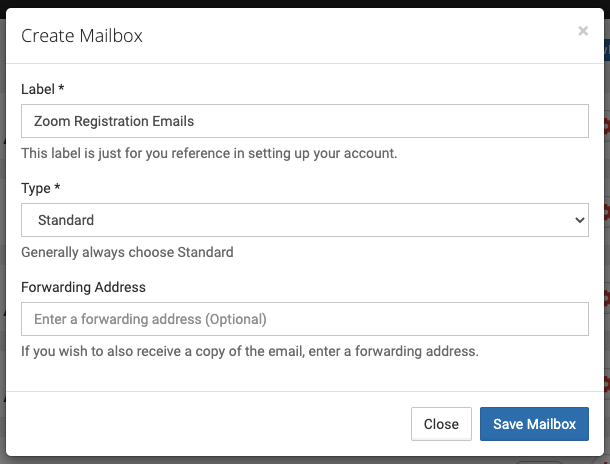
Inside Parsey, go to Email Flows and click Create Mailbox. Name your mailbox Zoom Registration Emails (or anything you want) and click Save.
Under the Mailbox section, find the mailbox you just created and then click the two-paper icon to copy the email address of the mailbox.
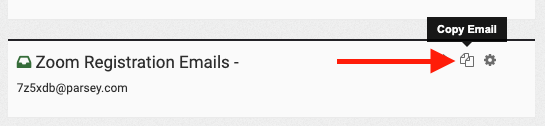
This email address is the one you will have the zoom registration emails auto-forward to.
Step 3: Host Email Box
This step will be different for almost everyone. By now you should have received the test registration email from Zoom in the host's email box, and you will need to set up an auto-forward to send any future emails to the Parsey email address from the previous step.
If you are using Gmail, you can follow this article to learn how to set up the auto-forward from gmail.
Once you have set up the auto-forward to Parsey, register for the meeting again with a test contact so that a new email can be forwarded to Parsey.
Step 4: Parsey (Again)
Once Parsey has received the auto-forwarded email from the Host mailbox, the Email Flow is ready to be configured.
Click the gear icon on the Zoom Registration Emails box and click Edit Parser Fields.

There are a set of arrows at the top of the page (<< < > >>). Click the rightmost arrow (>>) to bring up the registration email from Zoom.
Now we are going to create the Name field to pull from the email. Click the Add field button and label it Name.
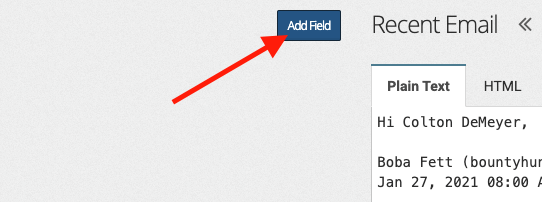
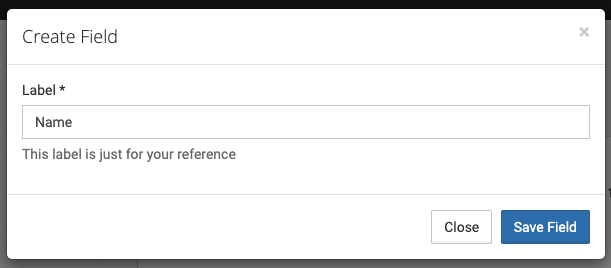
Once you've clicked Save Field, Highlight the Name from the email. This will ask you if what you have highlighted is correct, so click Yes. Then go through the steps to confirm the field.
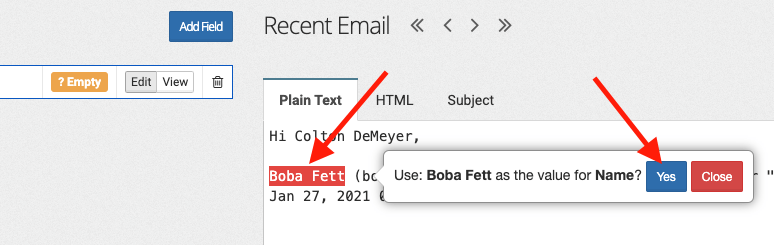
Repeat the steps above for the email address as well.

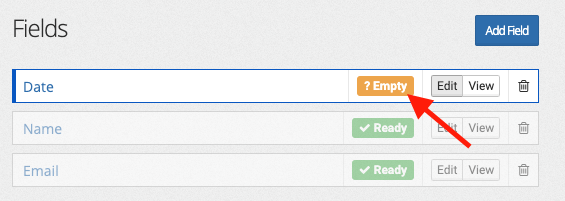
Now create a field called Date, but instead of highlighting the date in the email we are going to manually configure it by clicking the ?Empty button on the field.
In the top box of the field, copy and paste on:. In the bottom box, copy and paste {{stop_after:14}}.
Click the link to open up the advanced options and un-check the box.
Then click the green View button to highlight the date in the email and make sure it's correct. Click the blue Confirm button.

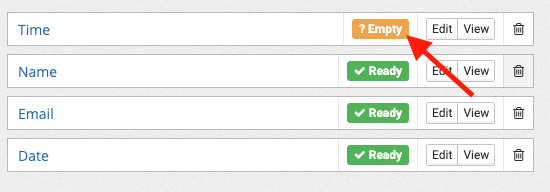
Now create a field called Time, but instead of highlighting the time in the email we are going to manually configure it by clicking the ?Empty button on the field.
In the top box of the field, copy and paste on:{{start_after:15}}. In the bottom box, copy and paste {{stop_after:8}}.
Click the link to open up the advanced options and un-check the box.
Then click the green View button to highlight the Time in the email and make sure it's correct. Click the blue Confirm button.

All of the information you need from the email has been set up using fields now.
If you are using Infusionsoft, follow this article to learn how to connect the flow to your Infusionsoft account. You can also use this article to learn how to create an appointment in Infusionsoft.
If you are using Active Campaign, follow this article to learn how to connect the flow to your Active Campaign account. Active Campaign doesn't have appointments, but you can find all of the Active Campaign event articles here.