This is Part 1 and 2 of the DocuSign Integration through Parsey. Please note that our DocuSign integration requires you to be on our Professional Plan in order to fully configure it.
Part 1: Creating a Template Inside DocuSign
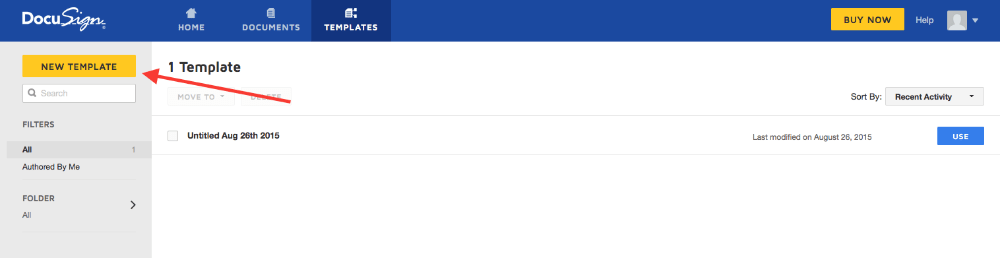
To create a new template inside Docusign, go to the Templates page and click New Template.
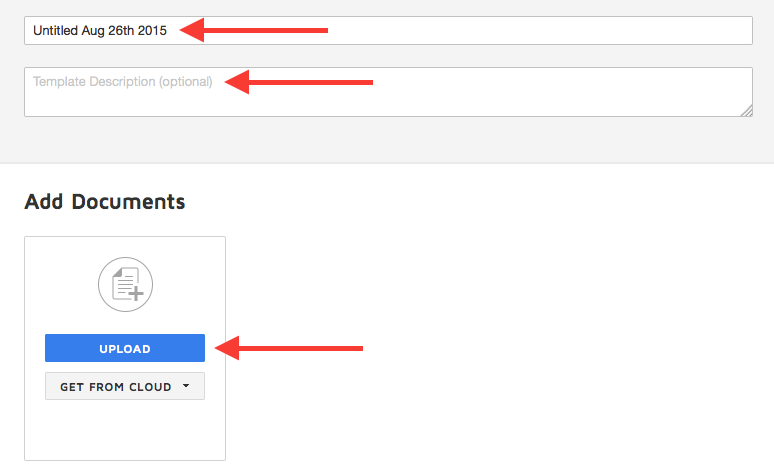
Give your template a Name and a Description, and then click Upload.
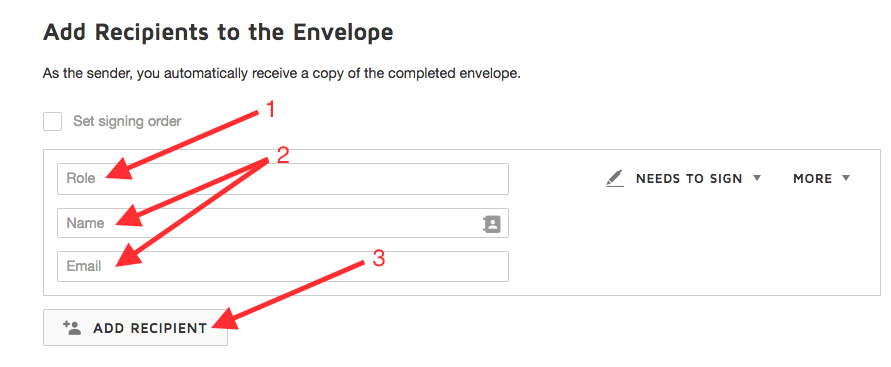
Once you have uploaded your document, add the Recipients.
- Role. This is customizable by you so it can be anything you want (i.e. Husband, Owner, etc.)
- Leave the Name and Email Address fields blank.
- You can also add another recipient.
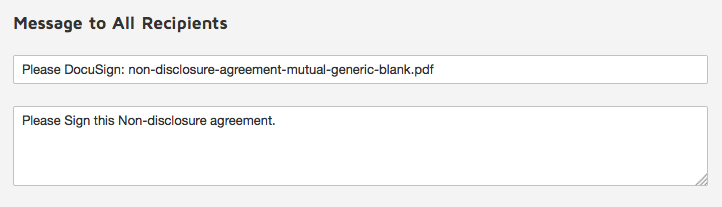
You can also customize the email that your recipients get when you send them the document.
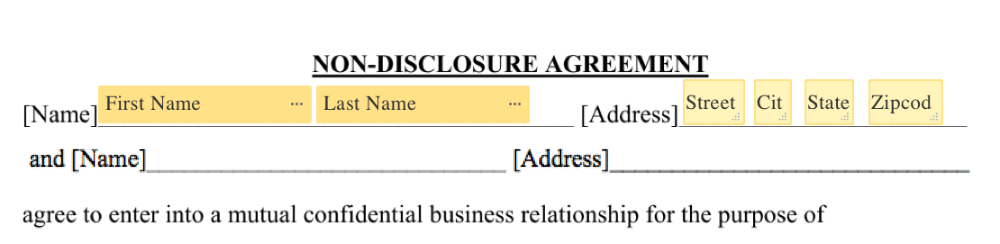
On the next page you will see your document with the drag-and-drop fields on the left-hand side of the screen. Use regular Text fields to populate your document with information. Keep in mind that Infusionsoft doesn't have a "whole address" field, so the address will need to be broken up into Street, City, State, and Zipcode. You can do this by using the Text field on the left-hand side of the screen.
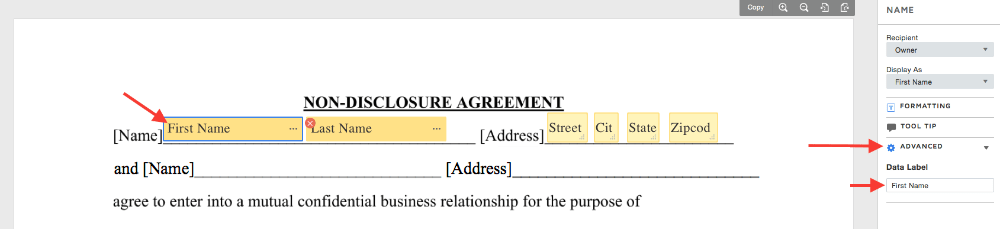
Now click into each of your fields. On the right-hand side of your screen there is an Advanced drop-down menu. Change to data label for every field. Each Data Label needs to be UNIQUE in order for Parsey to be able to update it. This will make the Parsey side of the configuration way easier for you.
Continue to customize the document, and don't forget the signature fields!

Part 2: Creating pipeline automation within Infusionsoft
First, log in to Parsey and create an Email Flow for this agreement.
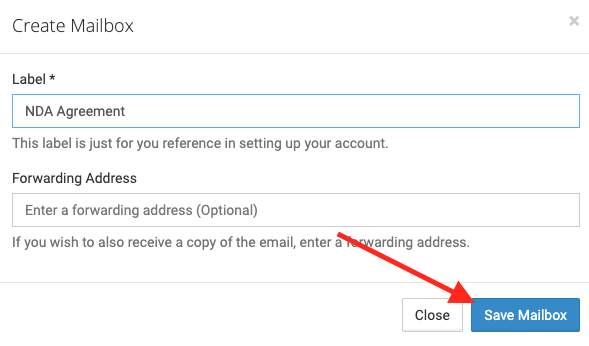
Copy the Email Address for that documents inbox. We will use this later in the setup.

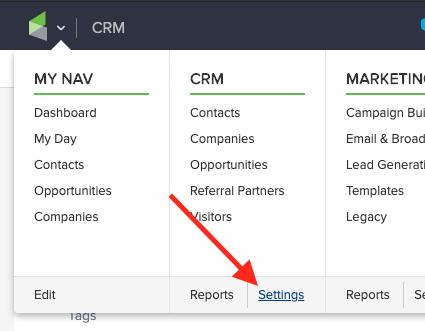
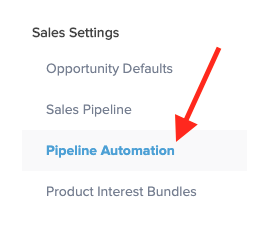
Now, log into Infusionsoft and go to CRM >> Settings.
Select "Pipeline Automation".
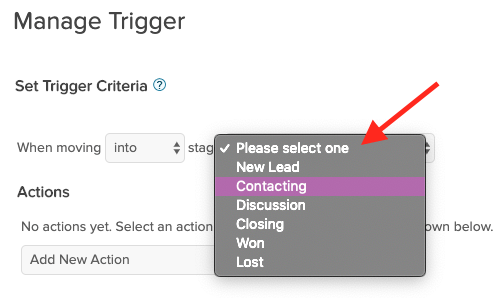
Select the trigger type "When moving from one stage to another" and click "Add Trigger".


Select whether the agreement will be triggered by moving an opportunity "into" or "out of" a stage, then select the stage.
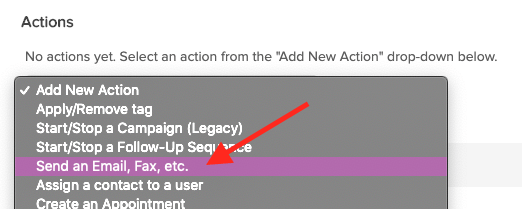
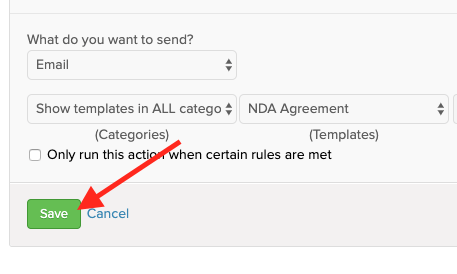
Select "Send an Email.." from the action drop down.
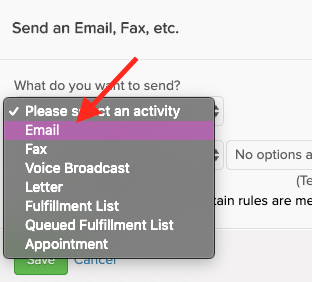
Select "Email" as the item you wish to send.
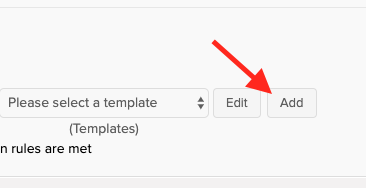
Click "Add" to create a new email template.
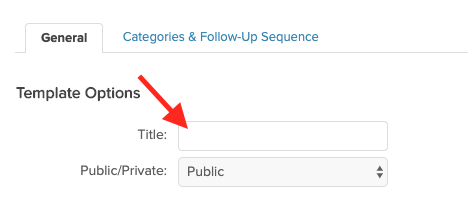
Give your template a title. Usually, this is the name of the document to prevent confusion.
Click the "(Change)" link next to the "To:" section.
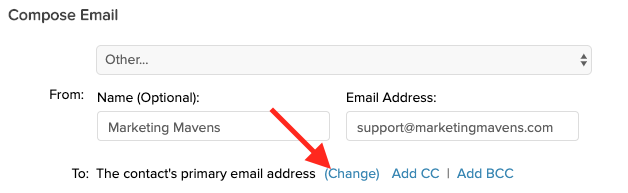
Paste the Parsey mailbox email address in the "To:" box.

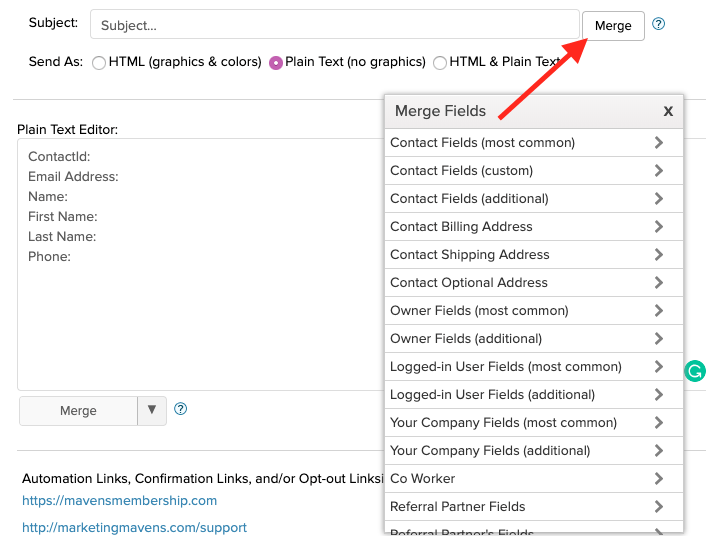
Select "Plain Text" from the Send As section.

Create the labels for the fields you want to send over to the DocuSign document, and use merge fields to put them next to the labels. ContactId, Email Address, and Name are all required fields. (The fields in my screenshot are just examples, you can also create and merge in fields from the Opportunity record.

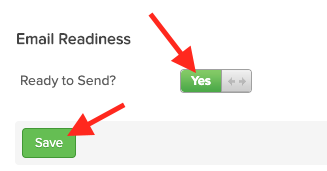
Change "Ready to Send?" to Yes, and click "Save".
Click "Save" on the Action.
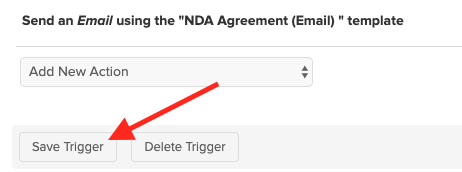
Then click Save Trigger.
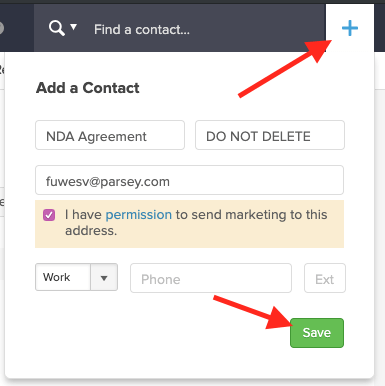
Infusionsoft will only let you send an email to an email address that is under a contact. Click the "+" icon to create a new contact. Name it the name of the agreement, and the put "Do Not Delete" in the last name. Then paste the email address of the Parsey mailbox.
IMPORTANT NOTE: Now you will need to create a 'Test' opportunity, and fill out all of the fields that you are going to be merging onto the document. Once you have done that, make the stage move that triggers the pipeline automation.
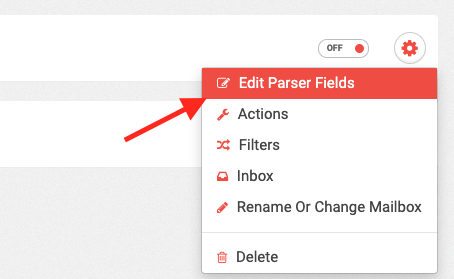
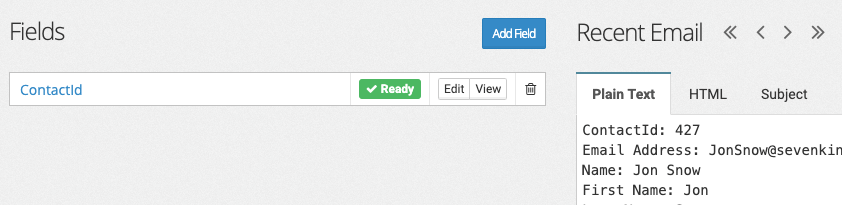
Back inside Parsey. Once you have triggered the email to go to Parsey. click the gear icon and select "Edit Parser Fields".
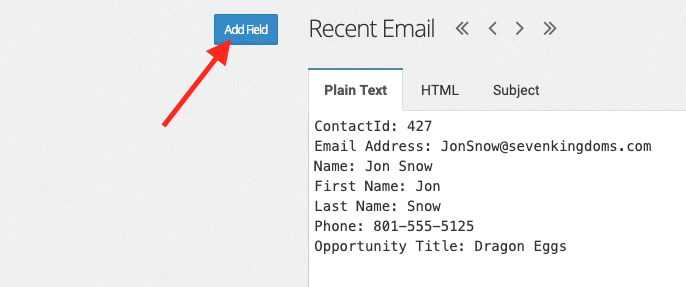
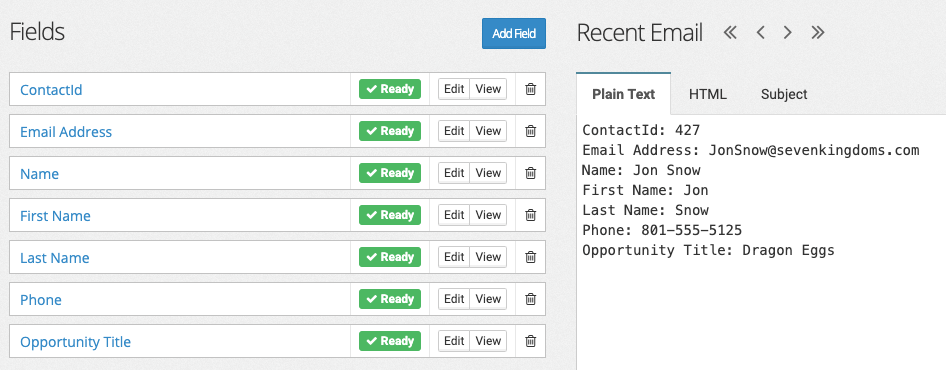
One by one, create fields by clicking "Add Field" and highlighting the text that that field is supposed to pull out of the email.

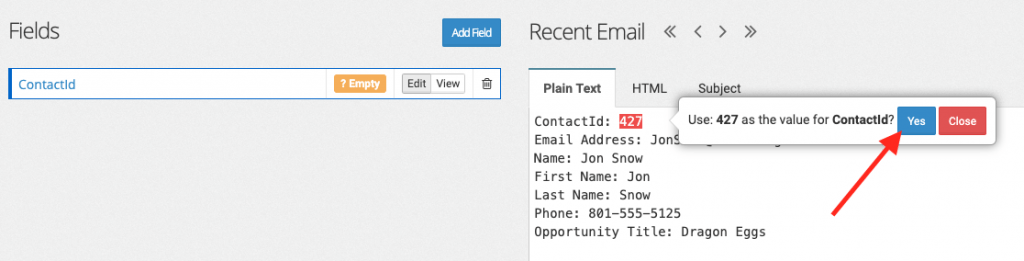
Repeat this process for every field.
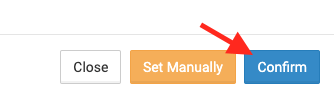
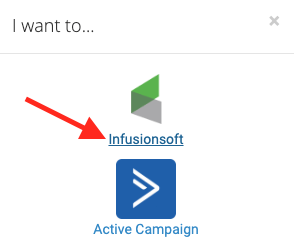
Once you've done that, click the "Contfigure Actions" button in the top right-hand corner of the screen.

Select the Infusionsoft Link to connect to Infusionsoft.
Continue the setup by following SECTION 2 of Part 3 here: https://docs.parsey.com/article/148-docusign-integration-part-3-parsey