To begin, go to your Webhook Parsers Page and click the "Create New Webhook Parser" button.

Then add Shopify to the Label and click "Save".

Notice that the Parser is Yellow. At this point, click the "Copy" Button to copy the URL for the Parser. Then follow this article to have your Shopify orders send to Parsey.

Once Parsey has received a webhook from Shopify, it will turn green, notifying you that it is ready to be configured.

Now Click on the gear icon and select "Edit Fields" from the pop-up.


First, you'll want to select "Email" from the Checkboxes.

Now scroll down to the Billing Address section and select the following fields.

This is how your fields should look so far.

Now scroll down to the Line_items >> 0 Section and check the box for Id.

Then scroll up and click "Edit" on the Line_items 0 Id field.

Now change the Field Label so that it just says Line_items. Then click "Advanced Settings".

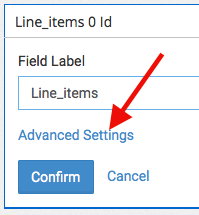
In the Advance Settings, change [line_items][0][id] to just [line_items].

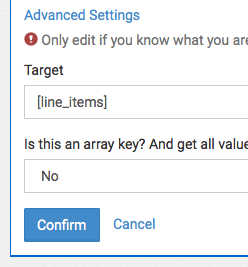
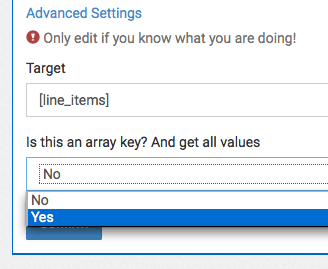
Then change the Array Key drop-down to Yes and click "Confirm".
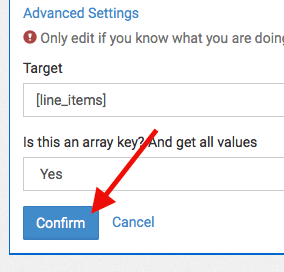
Once you've done that, you can select Line items from the Array. Scroll down to the Line_items >> 0 section and select the following fields.
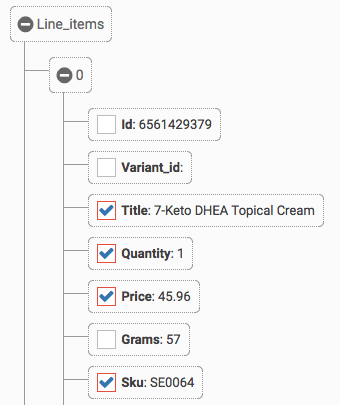
Then go to the Shipping_lines >> 0 section and select the "Price" field.
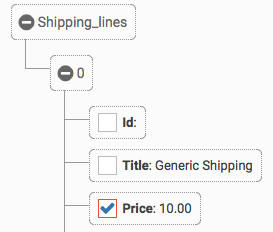
Continue scrolling to the Shipping_address section and select the following fields.
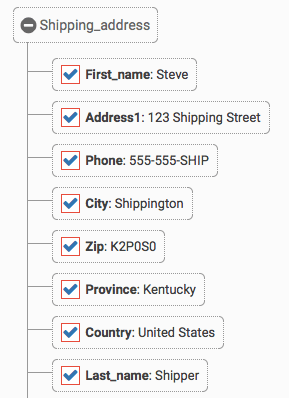
Once you've done that, scroll back up to the top of the page and select "Total_tax" and "Total_discounts".
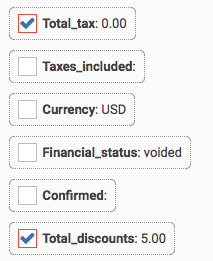
Now Click "Configure Actions" in the top right-hand corner of the screen.
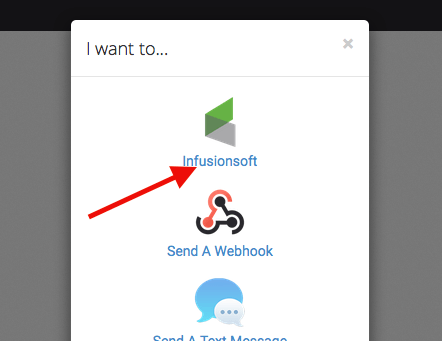
Select "Infusionsoft" from list.
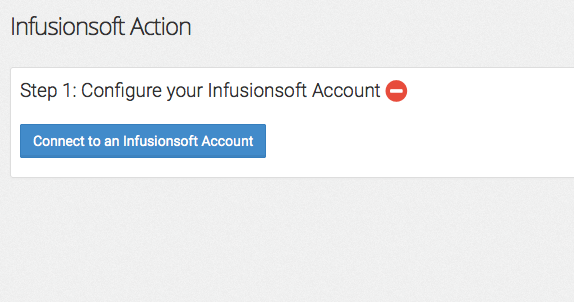
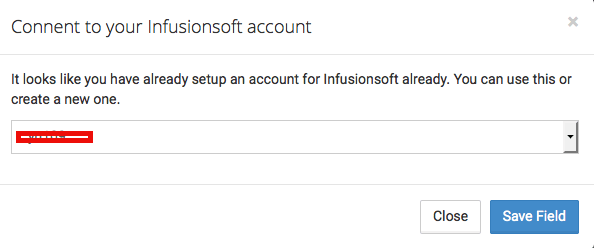
Now click "Connect to an Infusionsoft Account". Then select your Infusionsoft app from the drop-down and click "Save Field". If you don't already have your Infusionsoft account connected, follow this article here.
Now map these exact fields to their Corresponding fields in Infusionsoft.


The click "Save Contact Settings" at the bottom. Once you do, a green Add Another Event box will appear.
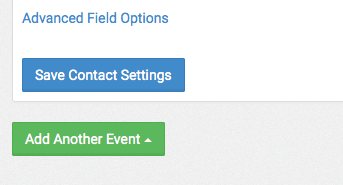
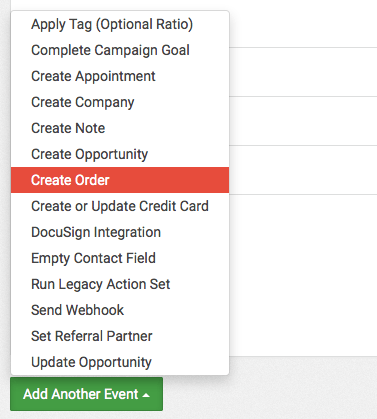
Click the "Add Another Event" box and select "Create Order" from the list.
Then Type Shopify Order into the Order Title field.

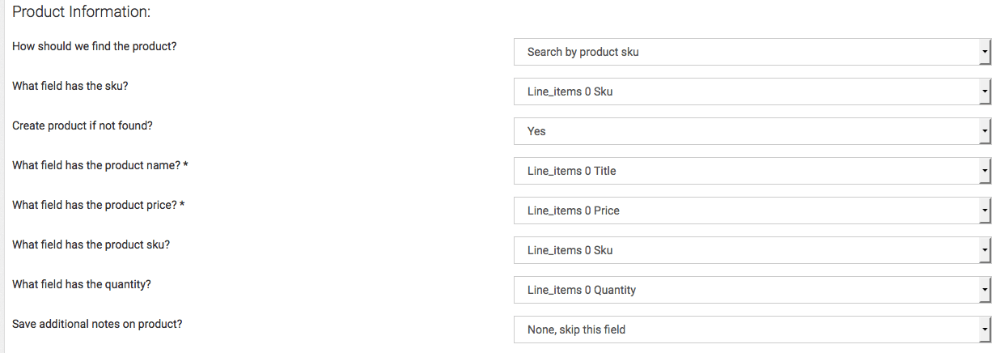
Under the section "How should we find your product item(s)?" select "Find product items by webhook array". Line Items should pre-populate after that.


Now match up the Product Information exactly like this. (Make sure that you have products and sku's inside Infusionsoft already)
Now select your Shipping, Tax, and Discount fields from the next three sections.


In the next section, map the Shipping information to the shipping information within the Order.

Now go to the "Record a payment on this order?" section and click "Yes".

Then select "Define a custom payment type" and select your Payment Type from the drop down. Then leave Use time action is processed as it is.

You also have the Option to set Referral Partners on the order if their information is contained within the Webhook.

Now click "Save Order". If you would like to set up Order Purchase actions, reference this article here.
Scroll to the top of the page and click "Actions" from the path.

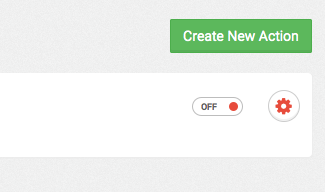
Then turn your Infusionsoft action from OFF to ON.
Congratulations you are now automation orders from Shopify into Infusionsoft!