This is Part 2 of the DocuSign Integration for Active Campaign through Parsey. This article will give you the basics on how to set up the Active Campaign portion.
Setting Up the DocuSign Campaign
Section 1
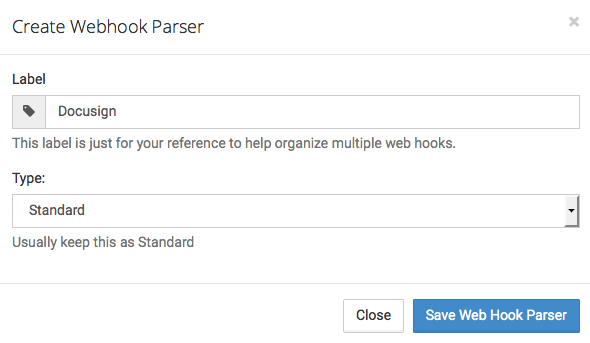
Inside Parsey, you will first want to go to your Webhook Parsers and click "Create New Webhook Parser".

Name your Parser. We recommend having one Parser for each document.
Section 2
Now copy the parser's webhook address.

Inside Active Campaign, create a new campaign with a trigger and an Action. Note: This is just an example, you can change it according to your own businesses process.
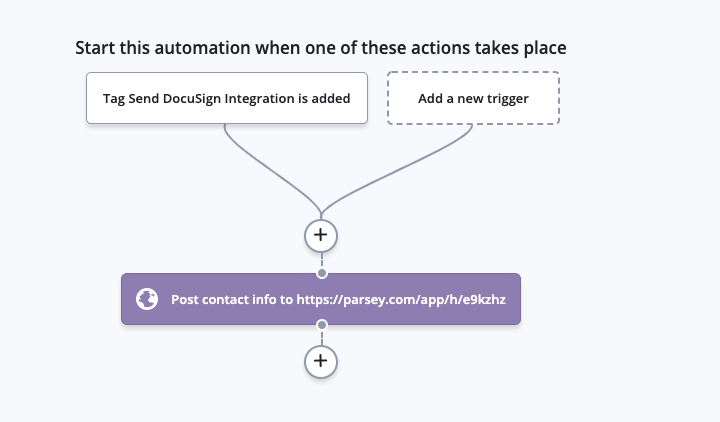
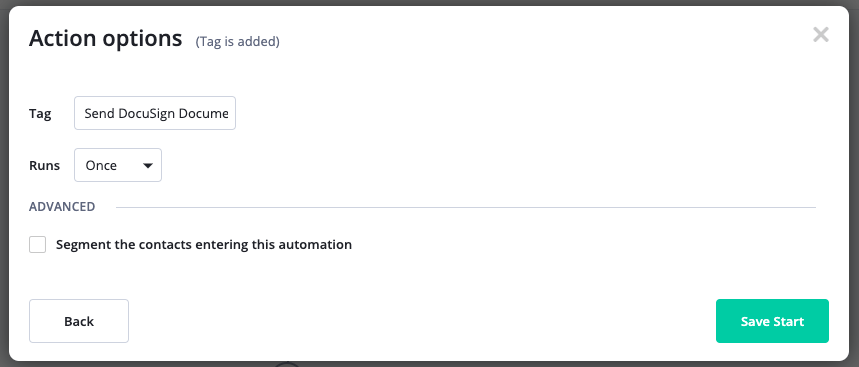
Set the campaign to be triggered when a tag is applied (or any type of trigger you want to send the document)
Section 3
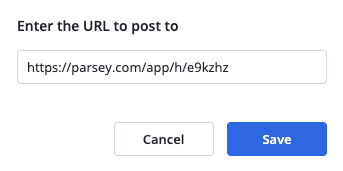
Click the "Conditions and Workflow" section, and select "Webhook" from the options.
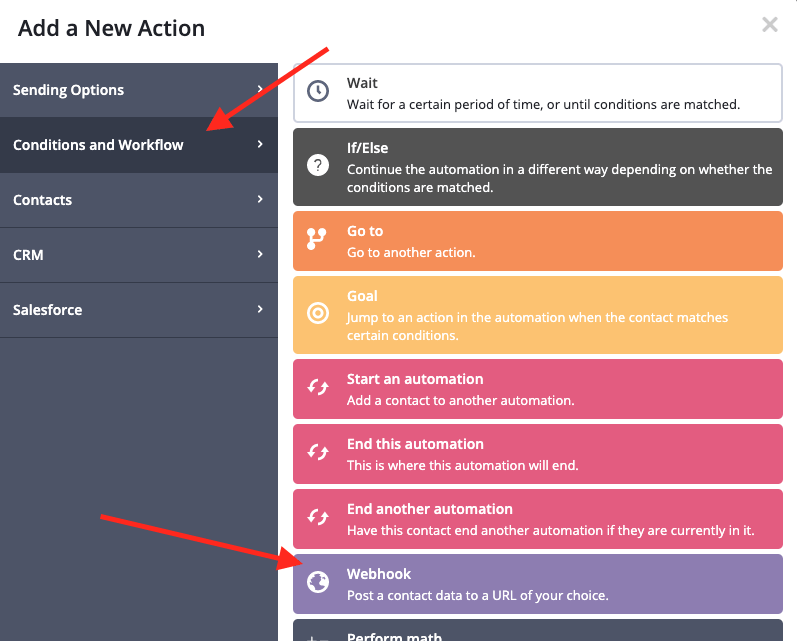
Paste the URL that you copied from Parsey into the URL field and click "Save".
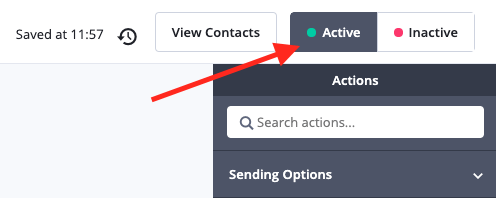
IMPORTANT: Now Active the campaign and apply the tag that sends the webhook to a test contact. THIS IS REQUIRED FOR THE NEXT STEP
This is the end of Part 2. Please continue to Part 3.