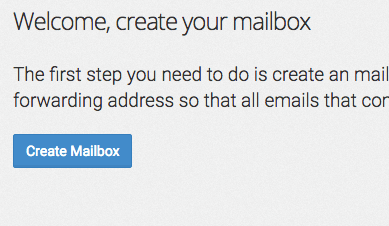
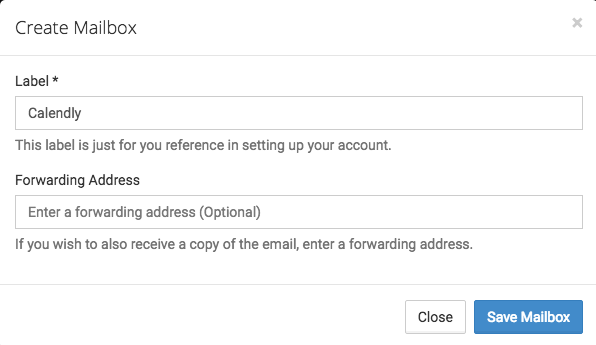
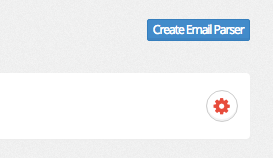
To begin, click "Create Mailbox" on the Email Parsers page. Label your Mailbox Calendly.
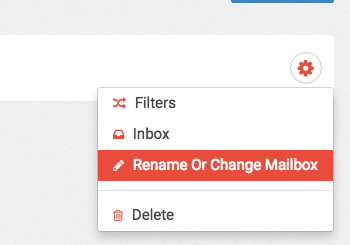
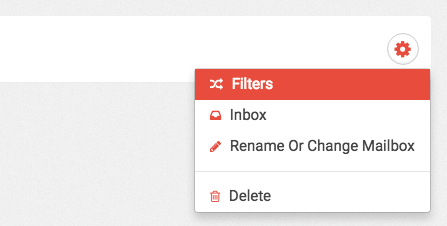
Click on the gear icon for the Calendly Parser and click "Rename or Change Mailbox".

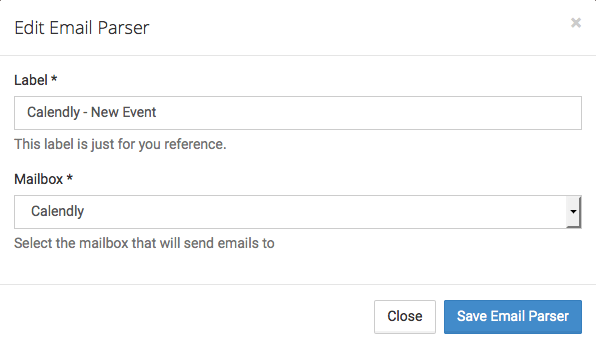
Change the label to 'Calendly - New Event'. Click "Save".
Now click "Create Email Parser" and Label the New Parser "Calendly - Cancelled Event". Make sure it is connected to the Calendly Mailbox as well.

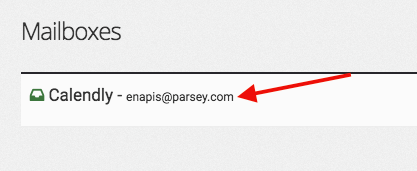
Now take the Calendly mailbox email address that was generated when you created the mailbox and create a Gmail Auto-Forward within Gmail to forward the Calendly Emails you receive to the Parsey Email address. If you don't know how to set up a Gmail Auto-Forward, reference this article here.
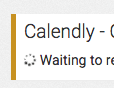
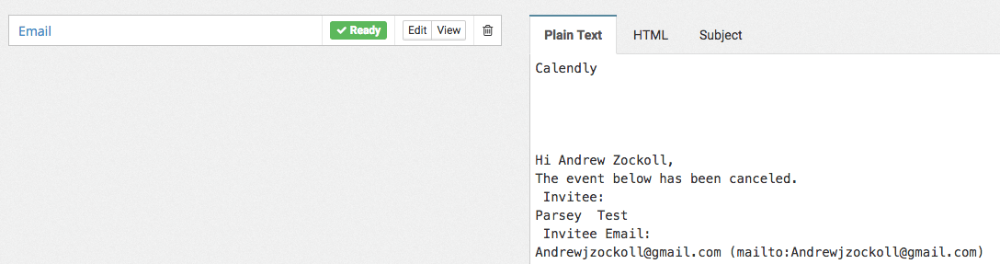
You may notice that your Calendly Parsers have a Yellow label. This is because the mailbox has not yet received any emails from Calendly. Once the Label turns Blue you can then continue with the setup.
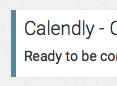
Once your Parser is blue, click on the gear icon for the "Calendly - New Event" Parser and click "Filters".
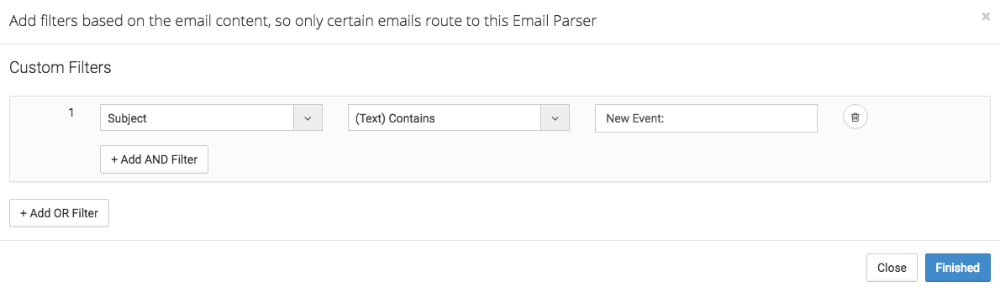
Configure the filter for the "Calendly - New Event" Parser like this.
Configure the Filter for the "Calendly - Cancelled Event" Parser like this.

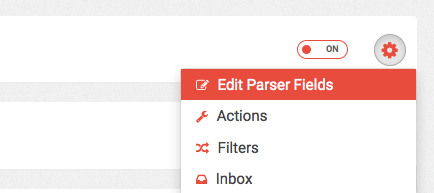
Now click on the Gear icon for the "Calendly - New Event" Parser and click "Edit Parser Fields".
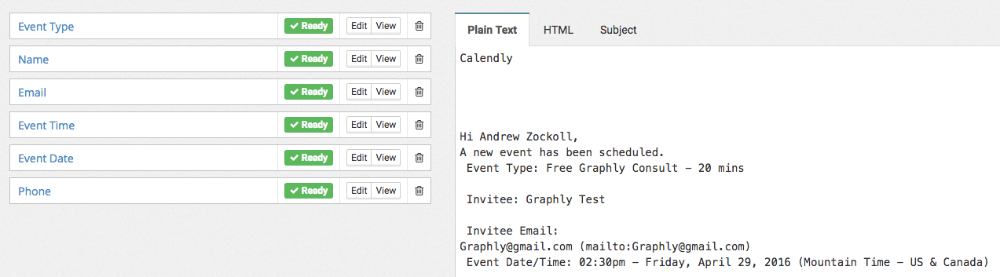
These are the field you will need to create for the "Calendly - New Event" Parser. If you don't already know how to configure the fields, reference this article here.
Now click "Configure Actions" in the top right-hand corner of the screen.

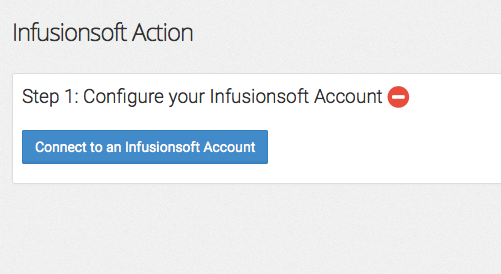
Click "Infusionsoft".
Now click "Connect to an Infusionsoft Account". If you haven't already connected your Infusionsoft account, reference this article here.

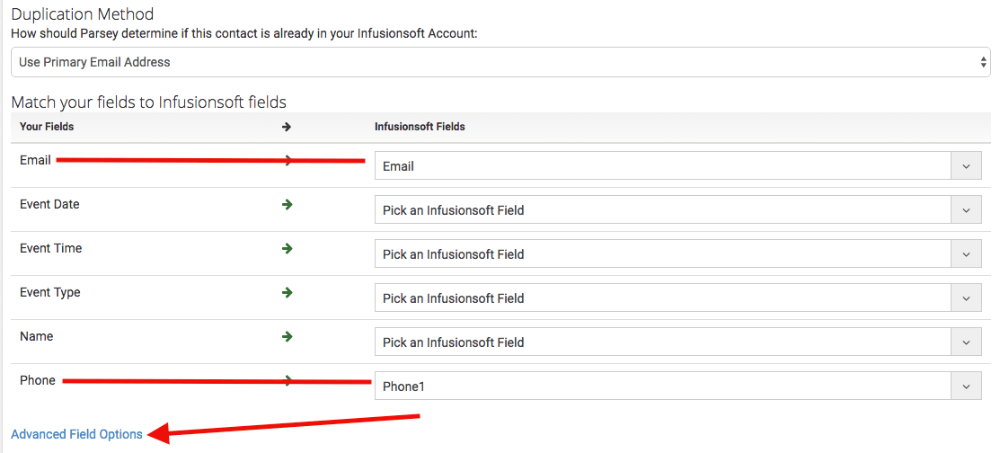
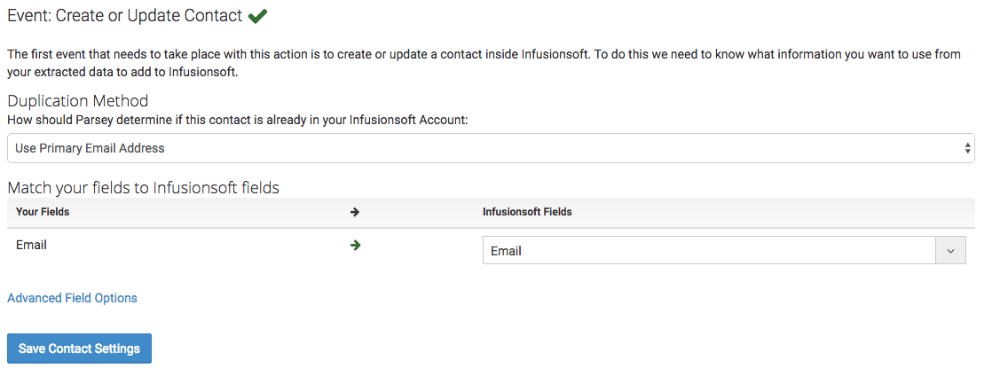
Now match the Email and Phone field to their corresponding fields within Infusionsoft. Leave everything else as-is. Then click "Advanced Field Options".
Now scroll down to the Magic Fields section and configure it this way. Once you've done that, click "Save".

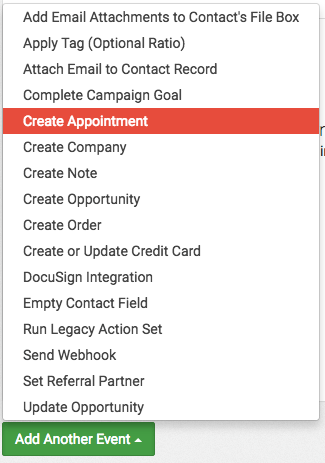
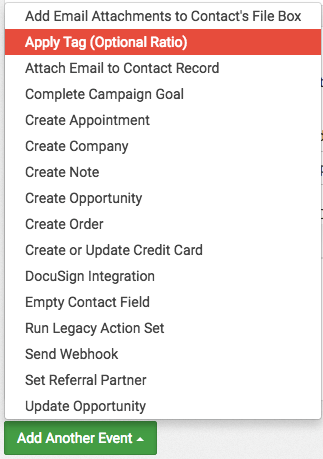
Now click the Green "Add Another Event" button and select Create Appointment from the pop-up.
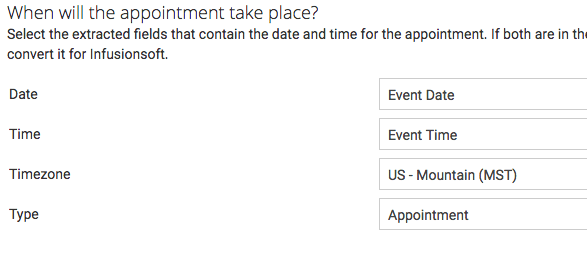
Now set these fields for the appointment.
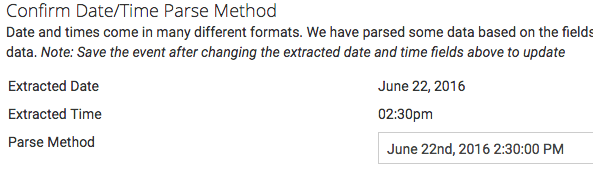
Then confirm that the Date and Time is correct in the Confirm Date/Time Parse Method section.
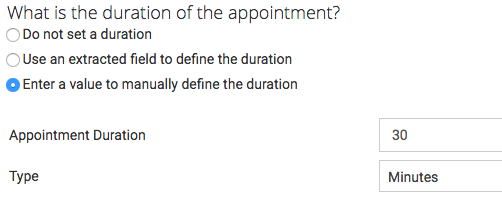
Now configure the Appointment Duration settings.
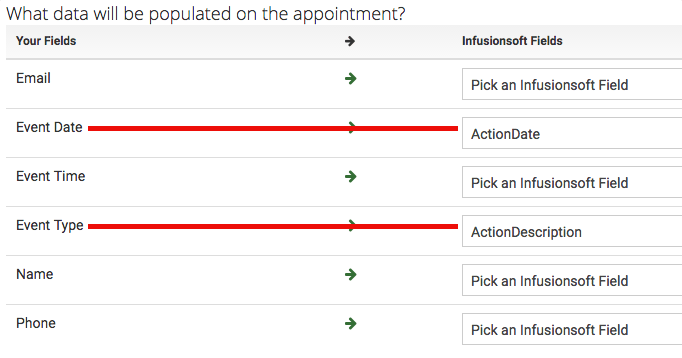
Then match the Event Date and Event Type to the Action Date and Action Description fields.
Here you can assign who the appointment should be assigned to. Once you are done, click "Save".

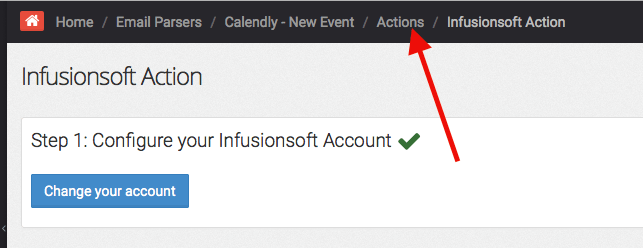
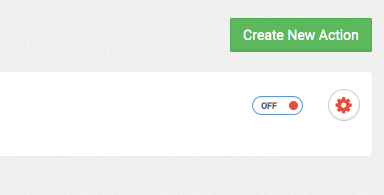
Now click "Actions" at the top of the page and turn the Infusionsoft Action from OFF to ON.
Cancellation Email Setup:
Configure the "Calendly - Cancellation" Parser like this.
Then go through the same steps as before to connect it to Infusionsoft.

Now map the Email field to the Email field within Infusionsoft. Now click "Save".
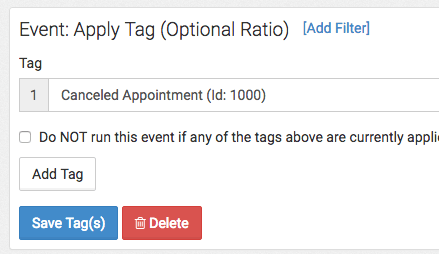
Click the Green "Add Another Event" button and select Apply a Tag from the pop-up.
Then add your Appointment Cancelled tag to the event and click "Save".
Now click "Actions" at the top of the page and turn the Action from OFF to ON.


Then on the Email Parser Page turn both of your Calendly Parsers from OFF to ON.

Congratulations, you are all finished. Now your customers can create and cancel appointments and it will reflect that within Infusionsoft.