Follow this article if you are wanting to attach an inbound email from an existing Infusionsoft contact and attach it to the contact record inside Infusionsoft. While less common, you can also configure Parsey to create new contact records if the record does not yet exist in Infusionsoft.
The first thing you will want to do is go to your Email Parsers page and create a Mailbox.

Give your Mailbox a Label. I'm going to call mine Inbound Emails. Then click "Save Mailbox".
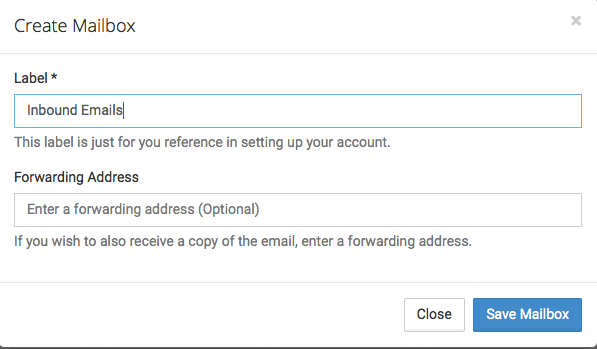
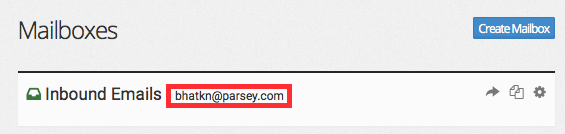
Once your Mailbox is created, copy the unique serialized Email Address that is generated. This is where you will forward emails to.
This article is split into separate Parts. Follow Section 1 if you will be using an Auto-Forward to forward all of your emails. Follow Section 2 if you will be manually forwarding only specific emails. Section 3 is for everyone.
Section 1 - Auto-Forward
Send an email to the Mailbox Email Address that you generated earlier. Any email will do. Now set up your Gmail Auto-Forward to that email address. If you don't know how to do this, reference this article.
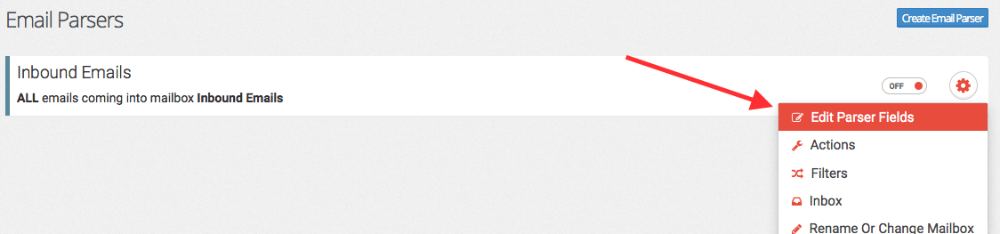
Once your Parsey Mailbox has received an email, the bar next to the Parser will turn blue. Now click the "Gear Icon" and select "Edit Parser Fields".
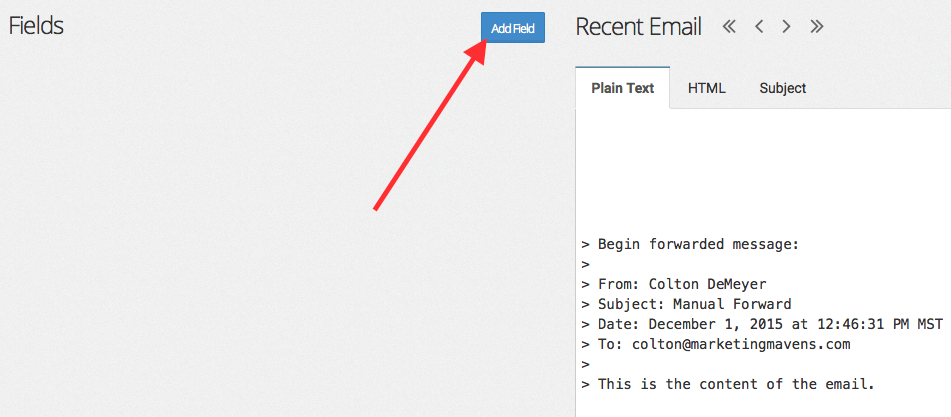
Now click "Add Field".
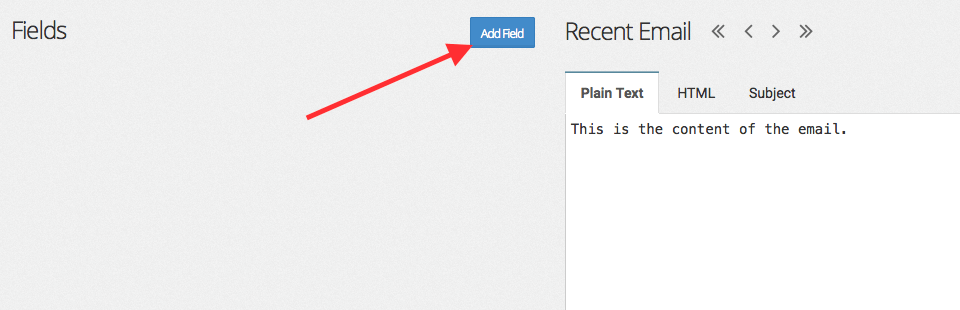
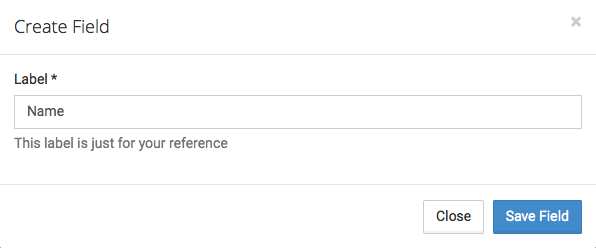
Give the field a label. I will name mine Body. Click "Save Field".

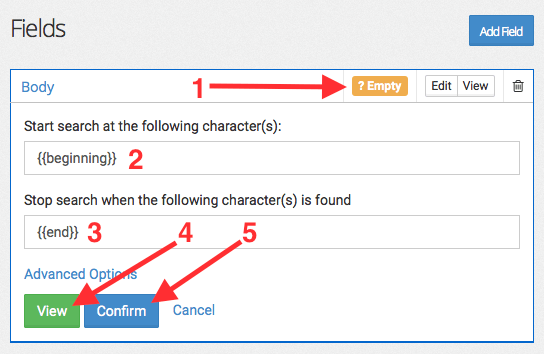
Click the yellow "? Empty" button to manually configure the extraction. In the first field, type {{beginning}} and in the second field, type {{end}}. This will grab the entire email body. Click "View" and then Click "Confirm". Note: It is very important to click "View" first.
Now, on the right side of the screen, click "Configure Actions".
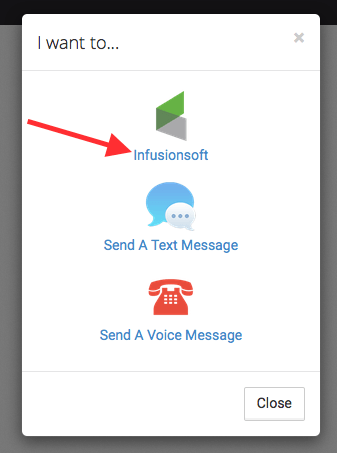
Select "Infusionsoft".

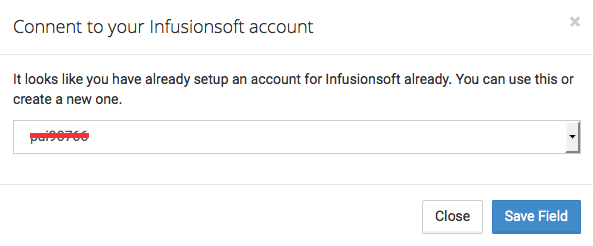
Select your Infusionsoft account from the list of apps. Or if this is your first time, input your Infusionsoft App Name and API Key. If you don't know how to find this go to Infusionsoft Admin Settings using the path Admin>Settings>Application. Click "Save Field".
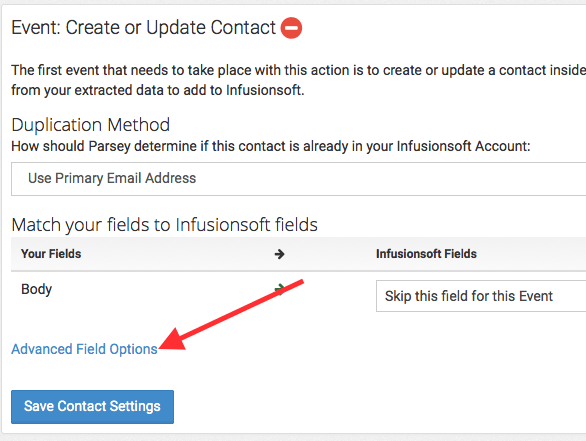
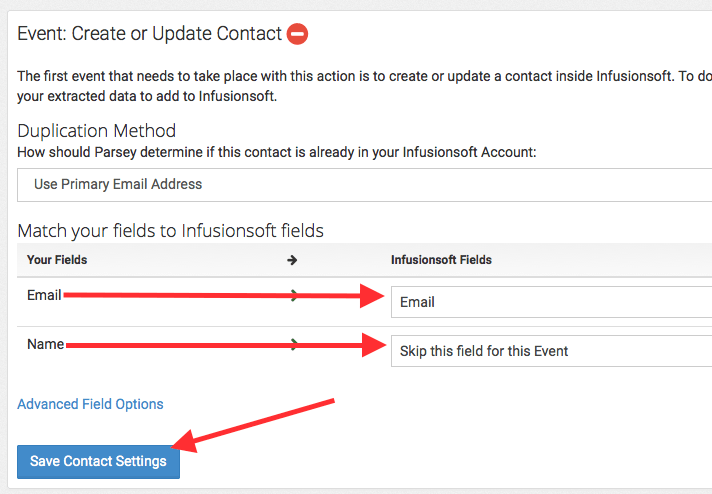
Now set your Body field to Skip this field for this Event. Now click "Advanced Field Options".
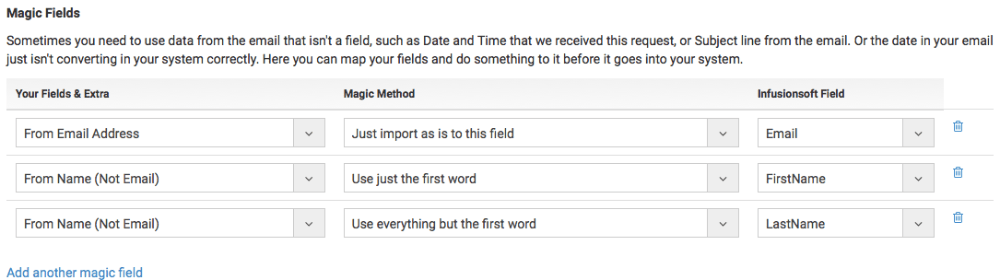
Go to the Magic Field section. Select "From Email Address" from the first drop down, leave the second drop down alone, and select "Email" from the third drop down.

Now you will want to add two more Magic Fields. Set them up like this FromName >> Use just the first word >> First Name and From Name >> Use everything but the first word >> Last Name. This splits the contacts name in Infusionsoft. Keep in mind, many times the From Name is NOT be provided.
Now go to Miscellaneous Options. Unless you set up your gmail auto-forward to only forward emails from your contacts already inside Infusionsoft (which could be challenging to accomplish) it is highly recommended that you check the box for Only update existing contact, never create a new one. This is because if you don't, Parsey will create a contact for EVERY email that it receives regardless of if the email is from a contact or not. Now click "Save Contact Settings".

This Concludes Section 1. Continue on to Section 3.
Section 2 - Manual Forward
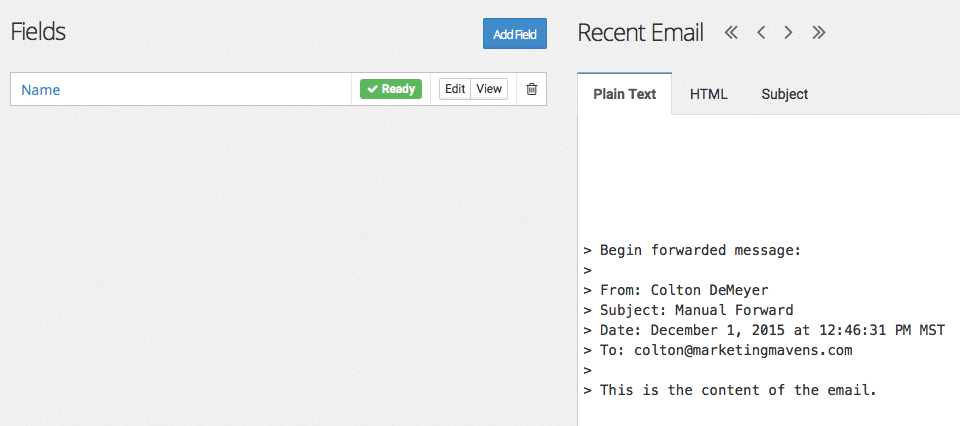
Forward an email to your Parsey Mailbox email address that you just created. You can forward any email. Once Parsey receives the email the bar next to the Parser will turn blue. Click the "Gear Icon" and select "Edit Parser Fields" from the menu.

Click on "Add Field".
Label it Name.
Highlight the name after From and click "Yes".
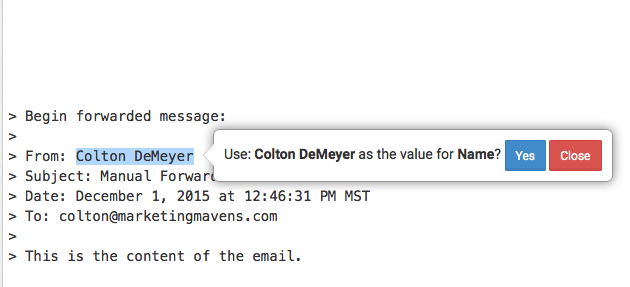
Now click "Confirm".
Click "Add Field" again.
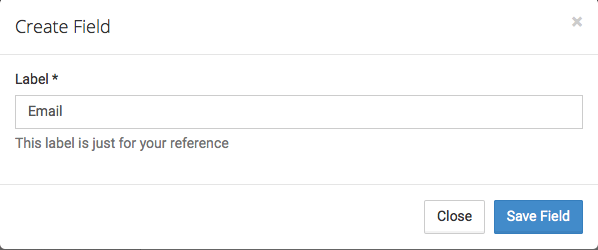
Label this one Email.
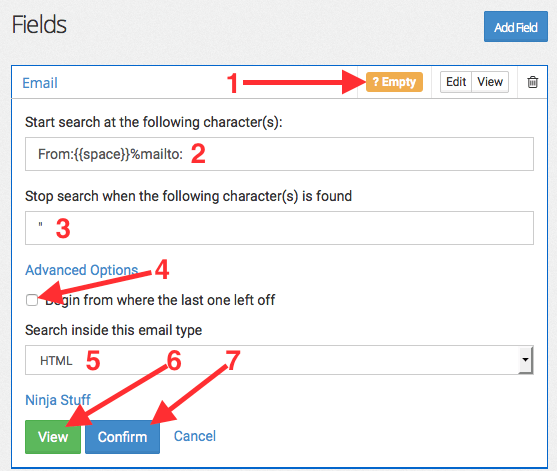
Click the yellow "Ready" button. In the first field type From:{{space}}%mailto: in the second field type ". Then click "Advanced Options" and un-check the box that says "Begin from where the last one left off". Then from the drop down select HTML. Now click View and then click "Confirm". Note: It is very important that you click "ViewBEFORE" you click "Confirm".
Now click "Configure Actions".
Select "Infusionsoft".
Select your "Infusionsoft" account from the list of apps. Or if this is your first time, input your Infusionsoft App Name and API Key. If you don't know how to find this go to Infusionsoft Admin Settings using the path Admin>Settings>Application. Click "Save Field".

Now map your Email field to the Email field in Infusionsoft. Set Name to Skip this field for this Event. Now click "Advanced Options".
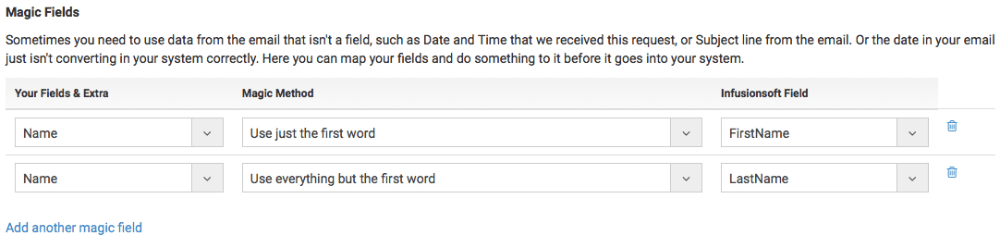
Now scroll down to the Magic Fields section. Click "Add another magic field" so that you now have two. Configure them this way: Name >> Use just the first word >> FirstName and Name >> Use everything but the first word >> LastName. This separates the first and last name when it creates the contact inside Infusionsoft. Now click "Save Contact Settings".
This concludes Section 2. Continue on to Section 3.
Section 3 - Finishing Up
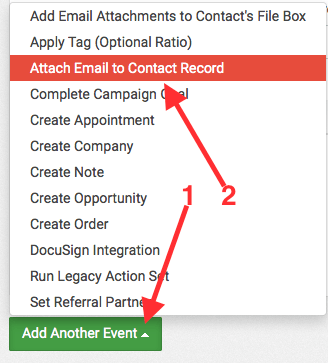
Click the green "Add Another Event" button and select "Attach Email to Contact Record".

Now, just click "Save".
Now, just click "Save".

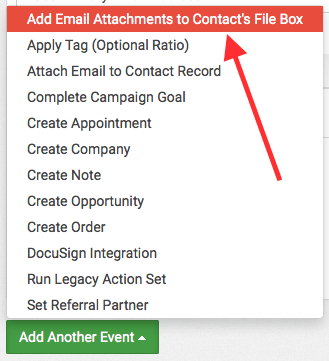
You now have the option to upload any email attachments to the contacts Infusionsoft Filebox. To do this click the "Add Another Event" button and select "Add Email Attachments to Contact's Filebox".
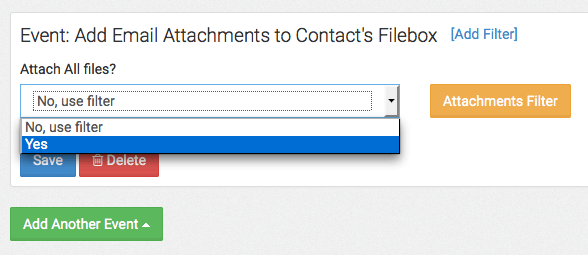
You can then configure it to either upload every attachment, or you can set up a filter to only capture certain files. Now click "Save".
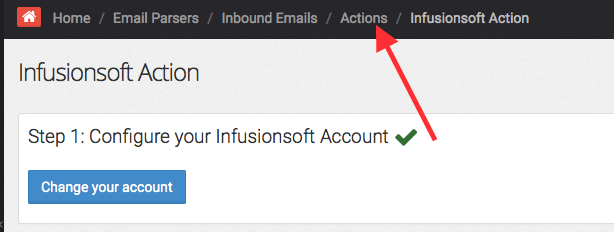
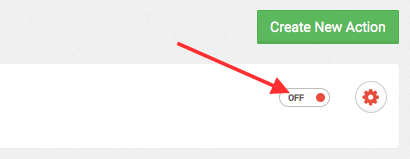
Scroll up to the top of the page and click "Actions".
Turn the Action from OFF to ON.
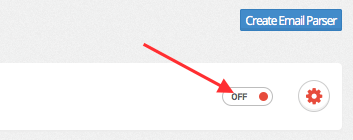
Now go back to your Email Parsers Page and turn the Parser from OFF to ON as well.
If you set up an Auto-Forward, you will no longer need to do anything from this point to attach the email to the record, it will happen automatically. If you are Manually forwarding contacts the only additional step required is the actual forwarding of the email to the Parsey inbox.
Congratulations! You're all done!